I wake up stiff most mornings. Not the kind of stiff that goes away after you stand up and stretch for a few seconds. The kind that settles into your lower back around two in the afternoon and hangs around until you do something about it. Between my own daily workouts and the physical side of taking care of my wife lifting, transferring, reaching, bending my muscles never really get a full break. I have tried stretching more. I have tried hot showers. I have tried just pushing through it and hoping the day would loosen me up. None of it got to the knot. What finally did was a foam roller on my living room floor.
A foam roller looks like it should not be that impressive. It is a cylinder of dense foam and that is basically it. But what it does is anything but simple. It works like a self-administered deep tissue massage, releasing tight spots in the muscle tissue and getting blood moving through areas that have gone stiff from disuse or overuse. The TriggerPoint Grid foam roller has been my tool for this because it has a firm density that still gives a little. It is not so soft that it does nothing useful and it has a textured grid surface that works into the muscle instead of just pressing on the surface. I have been using it for about eight months now and it has become part of my daily routine right alongside my actual workout.
Start Your Recovery Routine with the Right Tool
The TriggerPoint Grid foam roller has held up through daily use without losing its shape or firmness. At around its current price it costs less than a single professional massage session and it lasts for years.
Amazon Check Today's Price on Amazon →Step 1: Loosen the Upper Back First
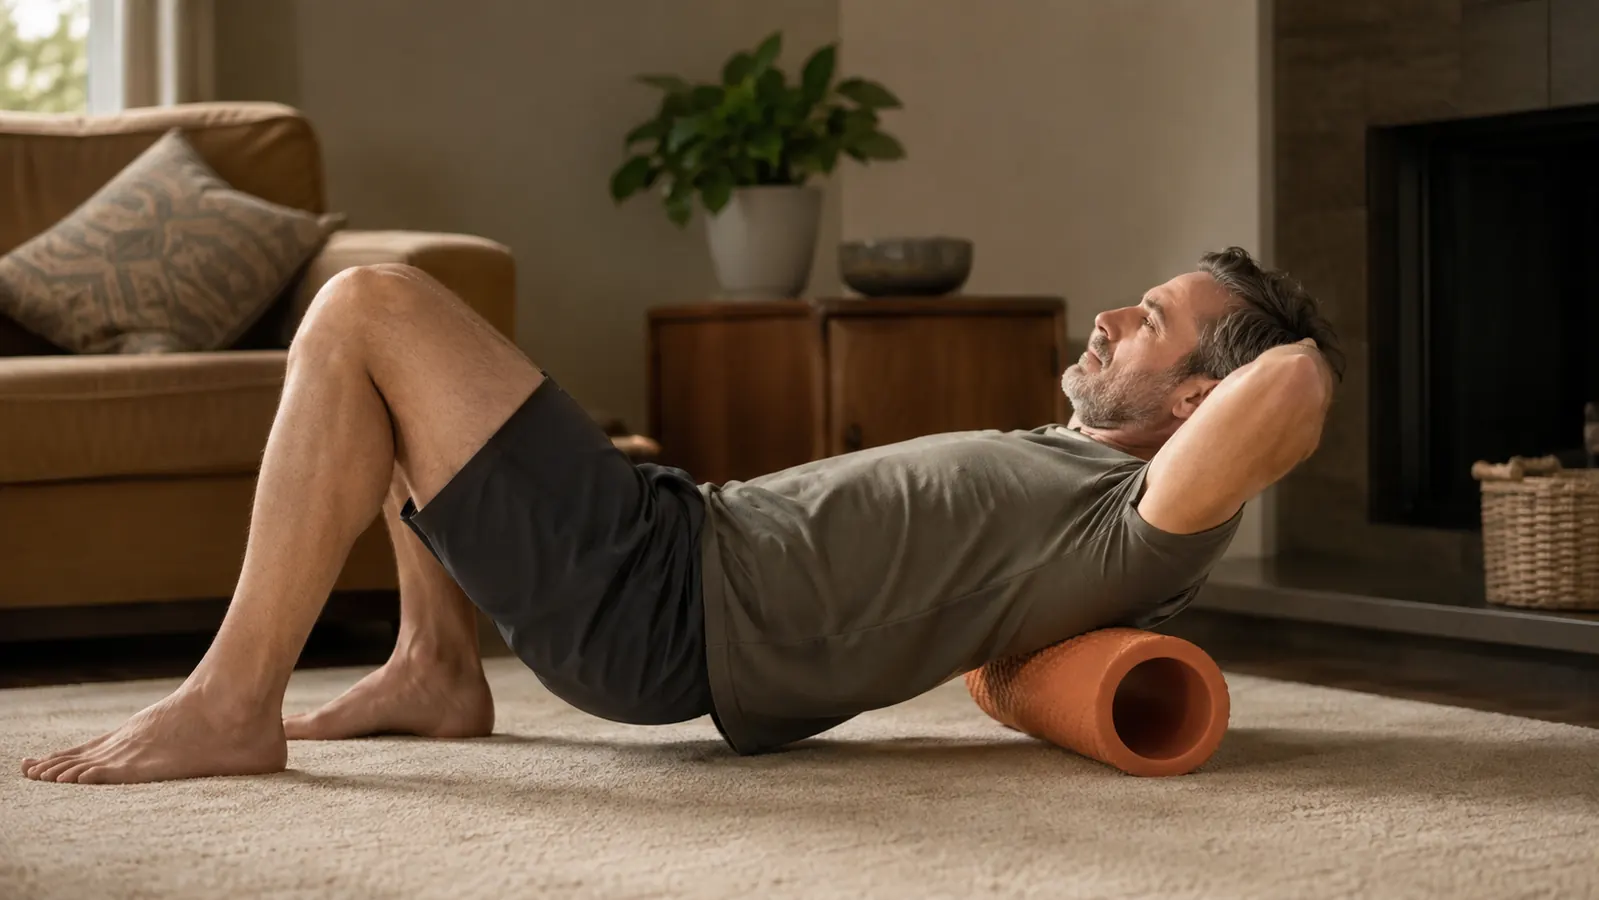
The upper back is where most of us carry tension without even realizing it. All day at a desk, leaning over a phone, hunching forward to help someone out of a chair all of it settles right between the shoulder blades. To address this, sit on the floor with your knees bent and your feet flat. Place the foam roller horizontally behind you, positioned under your shoulder blades. Lean back onto it, keeping your neck supported by your hands. Do not let your head drop back or hang unsupported. Use your feet to roll yourself forward and backward slowly, letting the roller move from the base of your shoulder blades up toward your upper traps.
When you find a tender spot, and you will, pause right there and take three slow deep breaths. The muscle will release as you breathe into it. I do this for about two minutes and it changes how my shoulders feel for the rest of the day. The TriggerPoint Grid pattern on this roller makes a real difference here because the textured surface finds the knot and works it out instead of just gliding over it. A smooth roller slides past the tight spot. The grid catches it.
A common mistake is rolling too fast. If you rush back and forth, you are just rubbing the surface of the muscle. The release happens when you slow down and let the roller settle into the tight tissue. Think of it like ironing a wrinkled shirt. You do not run the iron back and forth quickly. You press and hold on the stubborn crease. Same idea applies here.
Step 2: Release the Glutes and Hips
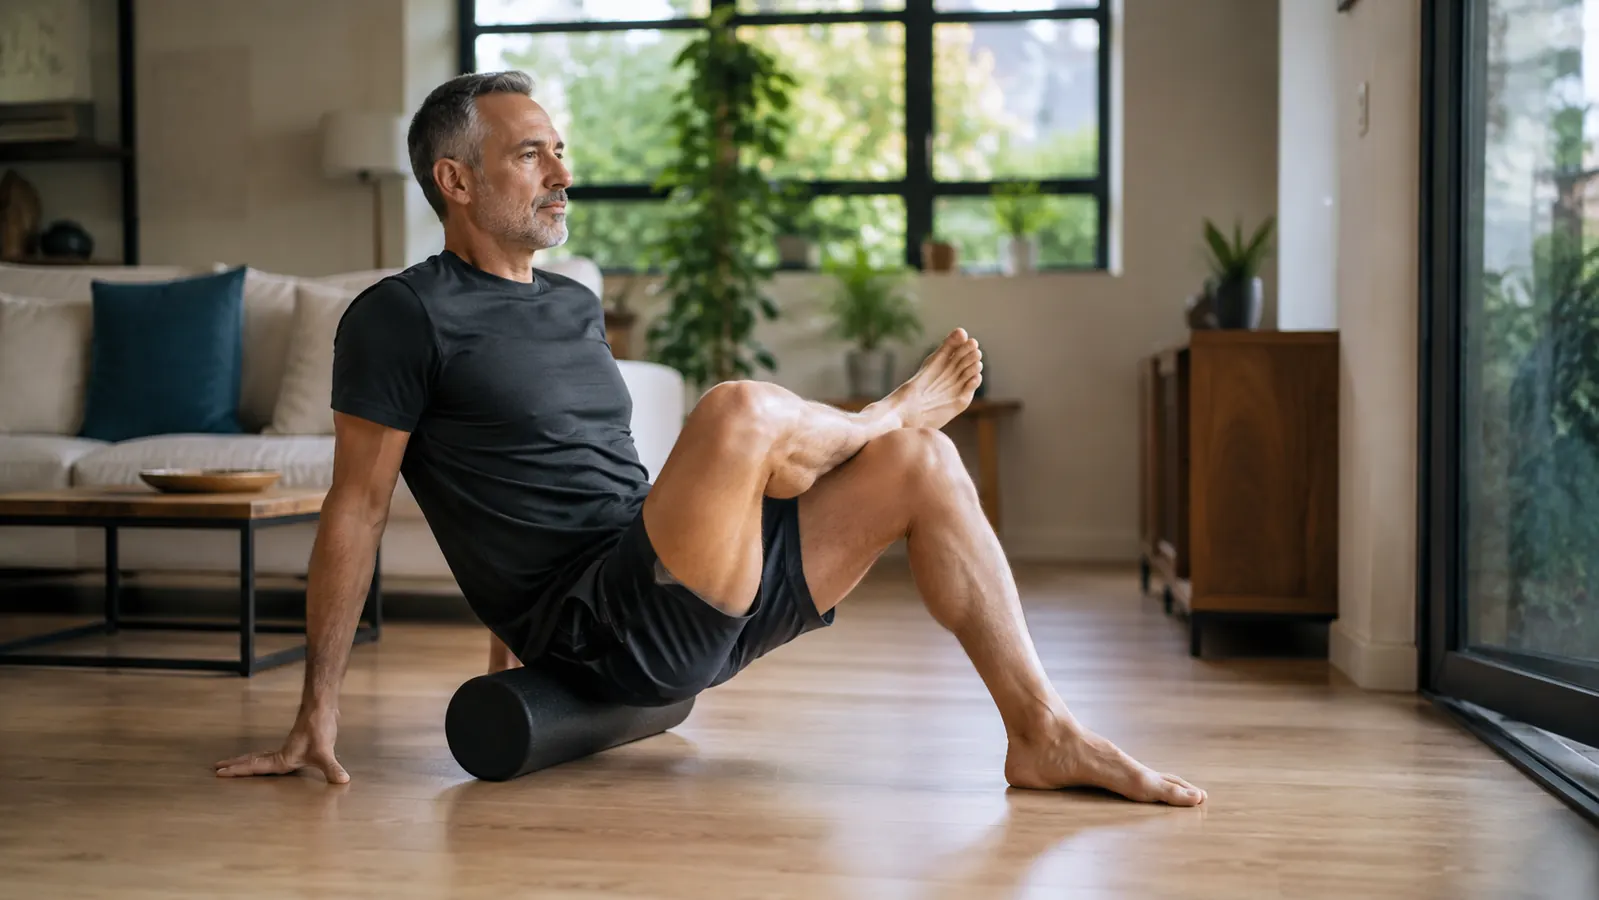
The glutes and hips take a beating whether you work out or not. Sitting tightens them. Standing tightens them. Walking tightens them. And when the glutes stay tight, the lower back picks up the slack, which is often what starts that afternoon back ache I mentioned. To release them, sit on the foam roller with it positioned under one glute. Cross that ankle over the opposite knee into a figure-four position. Lean your weight slightly toward the side you are working and roll slowly across the glute area.
This gets into the deep hip rotators. In my case, the positions you end up in when you are helping someone in and out of a chair or reaching across a bed really lock up these muscles. When you hit the right spot it will be a specific deep ache, not a surface one. That is the tight tissue releasing. Spend about sixty to ninety seconds per side. Breathe through it. If it hurts too much, shift your weight off that side slightly by leaning onto your opposite hand. You want productive discomfort, not pain.
Step 3: Work the Quads and Outer Thigh
Lie face down with the foam roller under your thighs just above your knees. Use your forearms on the floor to support your upper body. Roll from just above the knee up toward the hip. The front of the thigh is where a lot of us carry fatigue from squats, lunges, stairs, or just from standing more than usual. Roll slowly and deliberately. When you hit a spot that makes you wince, you found a knot. Pause and breathe into it for a few seconds before moving on.
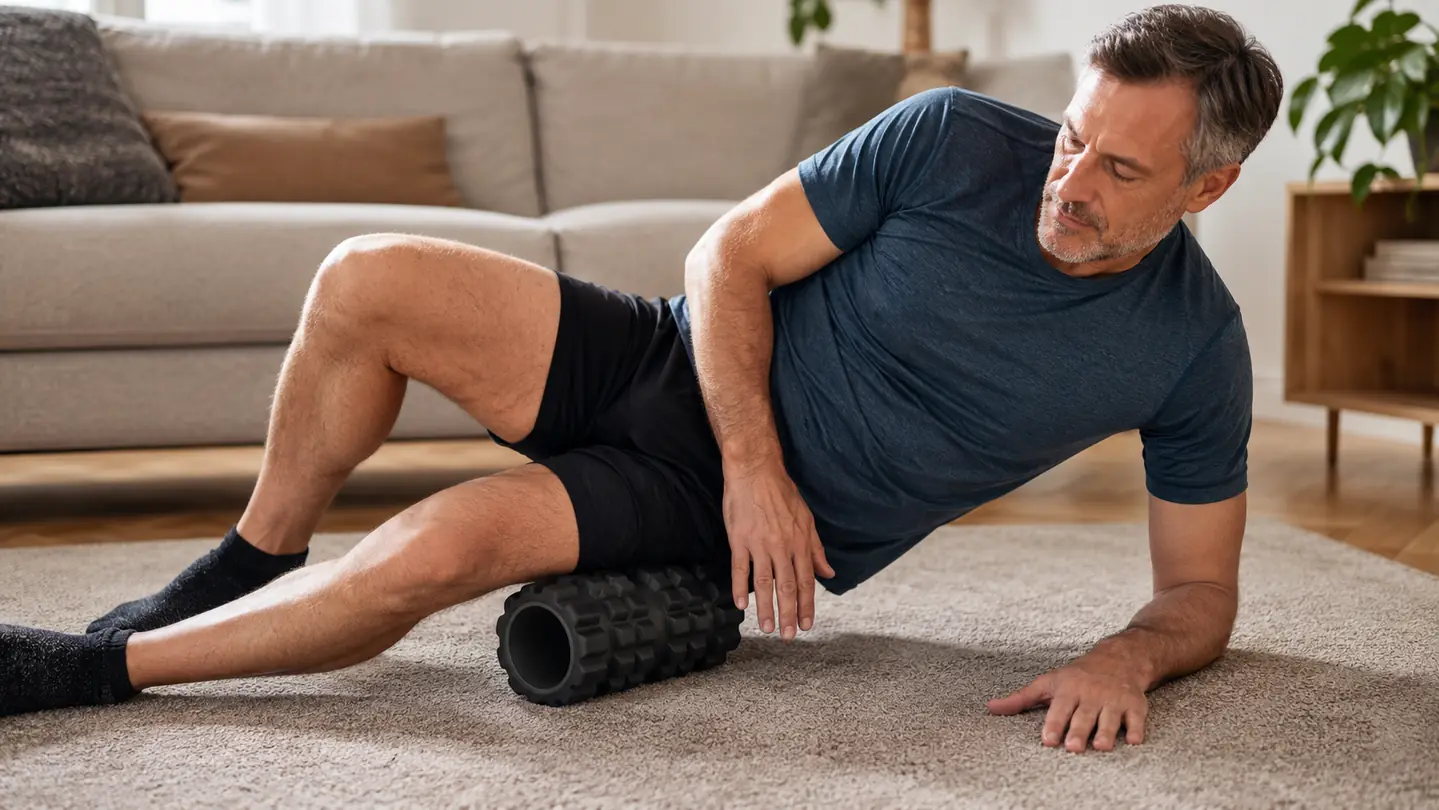
For the outer thigh, specifically the IT band, roll onto your side with the foam roller under the outside of your leg between your hip and knee. Support yourself with one arm on the floor. This area can be surprisingly sensitive, especially if you do a lot of walking or standing. Take it easy at first. The TriggerPoint Grid pattern helps here because it distributes the pressure more evenly than a flat roller, so you get the release without a hard edge digging into one narrow spot along the side of your leg.
One trick I learned: point your toes slightly inward while rolling the outer thigh. It changes the angle of the muscle fibers and lets the roller reach a slightly different layer of tissue. Small adjustments like this make a big difference over time.
Step 4: Loosen the Calves and Achilles
People overlook the calves until they start hurting, but tight calves affect everything from your knees to your lower back. Every step you take runs through them. If you have ever had that feeling of your ankles being stiff first thing in the morning, tight calves are likely part of it. To work them, sit on the floor with your legs extended in front of you. Place the foam roller under your calves just above your ankles. Lift your hips slightly and use your arms to roll yourself forward and backward, working from the Achilles up toward the back of the knee.
If you find a particularly tight spot, bend and straighten your ankle a few times while keeping the roller on that spot. This moves the muscle fibers under the pressure and helps the release happen faster. You can also rotate your ankle in circles while the roller stays in place to hit the inner and outer calf from different angles. I notice the biggest difference in my morning stiffness when I do this step consistently. If I skip the calves, I feel it all day.
Step 5: Address the Lower Back with Care
The lower back needs more care than any other area when foam rolling. Do not roll directly on your spine or on the bony part of your lower back. That can cause real injury. Instead, position the foam roller under your glutes at the very top of the hamstrings, right where the glute meets the back of the leg. Roll there. This releases tension in the muscles that attach to the pelvis, which is often what makes the lower back feel tight in the first place.
If you want to work the lower back muscles themselves, roll slightly to one side of the spine at a time. Keep the pressure light. Your lower back muscles are smaller and more vulnerable than your glutes or quads. A few gentle passes on each side is enough. The goal here is relief, not intensity. Overdoing your lower back is the fastest way to make yourself regret foam rolling altogether. Less is genuinely more in this area.
What Else Helps Alongside Foam Rolling
Foam rolling works best when it is part of a bigger recovery picture. I do it right after my workout, when my muscles are warm and more pliable. Doing it on cold muscles is less effective and more uncomfortable. Drinking water afterward helps flush out the metabolites that get released from the tissue. A simple five minute stretch after rolling locks in the range of motion you just gained. And consistency matters way more than intensity. Five minutes a day, every day, beats thirty minutes once a week by a wide margin.
I also find that foam rolling before bed helps me sleep better. There is something about releasing the day tension from your muscles that tells your nervous system it is okay to wind down. If you are a caretaker like me, or if you sit at a desk all day, or if you just carry stress in your shoulders, foam rolling before bed might help you more than any sleep tea or supplement. I keep my TriggerPoint roller leaning against the wall next to my workout mat. If it is visible, I use it. If I put it away in a closet, I forget about it for a week.
As for frequency, I aim for five to ten minutes daily. Some people tell you to take rest days from foam rolling. I have not found that necessary. Your muscles accumulate tightness every day so addressing it every day makes sense. The only real pause I would recommend is if you bruise easily or if you feel sharp pain rather than dull muscle ache. Sharp pain means back off and check your form.
The knot behind my right shoulder blade had bothered me for about a year. It took maybe a week of daily foam rolling before I noticed it was just gone. I never found the day it left. It just stopped being there.
That is the thing about foam rolling. It does not fix you overnight. But if you do it consistently, you wake up one day and realize the spot that has been tight for months is not tight anymore. Your range of motion comes back gradually and you stop thinking of yourself as someone who is just stiff all the time. For me that shift was worth more than any single workout I have done.
Make Recovery Part of Your Daily Routine
Whether you are working out at home, caring for someone, or just sitting at a desk all day, your muscles need maintenance. The TriggerPoint Grid foam roller gives you professional level self massage for less than a single copay. It has been on my living room floor for eight months and it is still as firm as the day I unboxed it.
Amazon Check Today's Price on Amazon →